The iClip window's background is usually of a colorless tone. While you can download a custom skin that lets the Recorder and other types of Clip Sets appear in different colors, those choices are hard-coded in the skin. The following instructions show you how you can give your sets individual background colors.
This feature requires iClip 5.2.4 or later.
It's admittedly not the easiest process, and it would be better if these colors could be directly set in iClip's preferences, but this was a quick improvement we wanted to get out sooner rather than it having to wait until we got to adding a better user interface for it.
Opening iClip's settings file
Download a program to edit Application preferences. We recommend Prefs Editor.
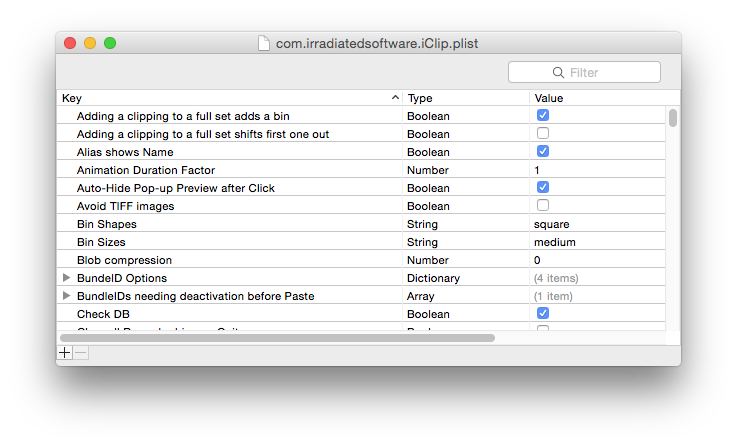
Launch Prefs Editor, and choose com.irradiatedsoftware.iClip from the list (to find it, use the Search box at the top right, entering iclip).
You should then see a window like this:

Adding the Window Colors dictionary entry (only needed once)
Scroll down to see if there is an entry with the Key iClip Window Background Colors. If you find it, select it (it will only be present if you've added colors before).
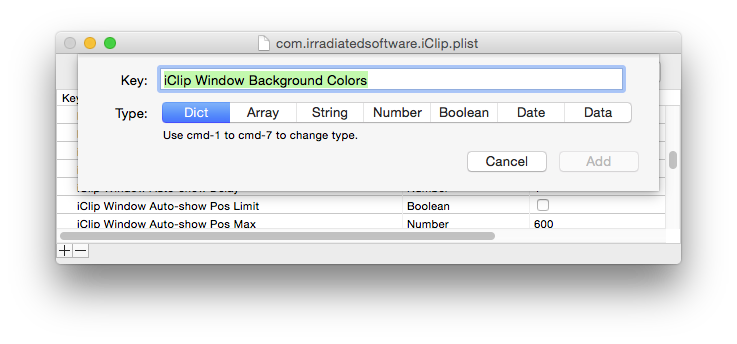
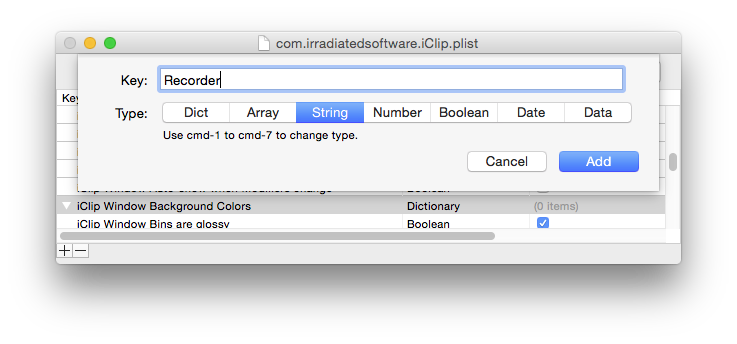
Otherwise, click on the + icon at the lower left or type the Return key. This will present you with a dialog to enter a new entry. Enter iClip Window Background Colors for the Key, and switch the Type to Dict, as shown below. Then click Add.
Adding Colors for individual Clip Sets
Now you're ready to add colors for your Clipping Sets.
In short, you add new entries to the dictionary of the iClip Window Background Colors key, with each entry named after a Clip Set, its value of Type String, as a RGB Hex Color value, including a transparency byte.
Here's an example for specifying a custom color for the Recorder:
Determining the RGB Hex Color value
If you are not familiar with Hex values, you can use Google.
Google for "hex color", and Google should present you with a color picker, like this:
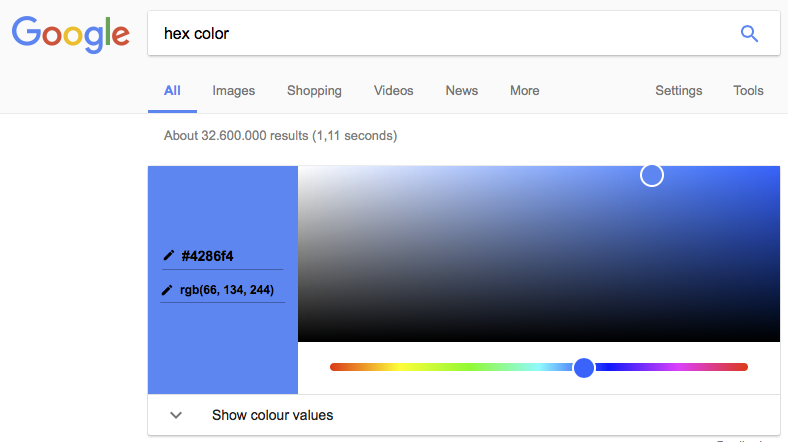
Use the slider to choose a color, then click into the colored area to choose its brightness and saturation.
Once you've picked a color, copy the Hex number that appears on the left following the "#" sign. In this example, that would be 4286f4.
Add another two hex digits to it for transparency. c0 is a good choice, but you could also try a0 or 80. So, the complete value would be 4286f4c0.
Entering a new entry into iClip's settings
Now add a new entry to the aforementioned dictionary. For that, switch back to the Prefs Editor, make sure the entry iClip Window Background Colors is selected and its triangle is in the downward position as shown here:
Now you can add a new entry to it, by clicking the + icon or typing Return.
This will present you again with the dialog for adding a new Key. Enter the name of the set you want to colorize and choose String for the Type:
Now you see the new entry added under the iClip Window Background Colors as follows. If you don't see it like that, you may have accidentally added it to the top (root) of the iClip settings. In that case, use Undo from the Edit menu (cmd+Z) and try again.

The last step is to enter the color value.
Click on the newly added line to select it, then click again on the right column for its value (which is currently empty).
Enter the hex color value and press Return. It should then look like this:
Repeat
Repeat these steps to add colors for other sets you're using.
There is no need to issue a Save command, as the changes are instant.
Do not quit Prefs Editor when you think you're done, but first test your changes (see below). Only once you see that your changes work, you should quit Prefs Editor. Otherwise, if it didn't work, you may have made errors during your edits. To be on the safe side, use Prefs Editor's Undo command repeatedly until all your modifications are undone, and then try again or, if you want to give up, quit Prefs Editor.
Testing your new colors
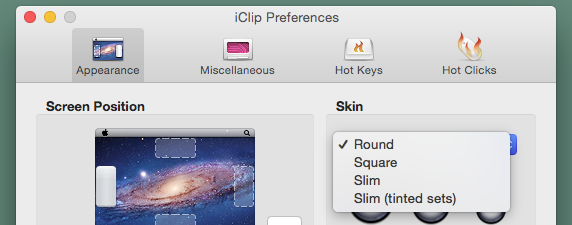
iClip does not immediately notice your changes, but it does as soon as it reloads the skins.
To accomplish that, either restart iClip or open its Preferences and switch to another skin, and back: